Hi guys!
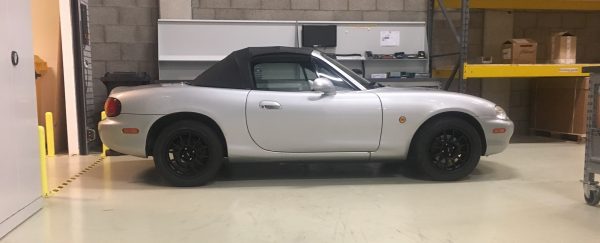
It feels like a long time since my latest post about the coupe. I’m a bit behind with the blog, because I am almost ready to start driving my car again. It was a lot of work. In this blog, I will partially get you guys up to date. But let’s start were we ended last time.
‘While working in the basement, I was looking into the best solution of mounting the roof to the car. I’m not a big fan of glueing and blending it in nicely with body filler. It’s just a matter of time before the paint starts cracking. While polyester is an amazing and easy material, it will never fully cure. Added to that, there also is a different thermal expansion between polyester fillers and steel quarter panels.
I needed to remind myself that my mx5 will finally become a trackday car. Therefore, bolting the roof on and off can actually have some benefits with regards to repairing damage/recurring rust. Looking at original coupe’s in Japan, I really like the shape of the roof blending in the quarter panel. So I needed to come up with a solution, which I will discuss in the following blog post.’
Removable hardtop
The idea arose to make the coupe top a removable hardtop, with added overfenders. This seemed interesting, as the nice tranfser between the top and body will be there. The hardtop can be bolted on, which will allow easy excess to the car when damage or rust will appear. There is no need for fender rolling; the rusted fender will be cut out and welded together. Not that I need fender rolling to clear the tyres at the moment, but this will make it future proof. I found some overfenders for the NB for a fair price online and ordered them.
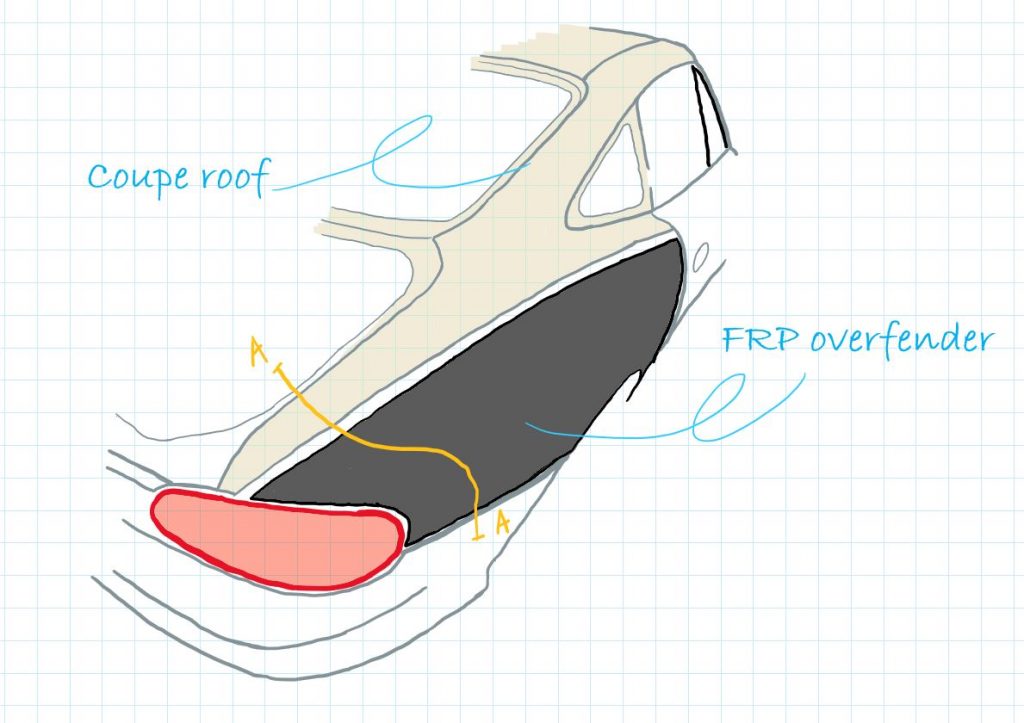
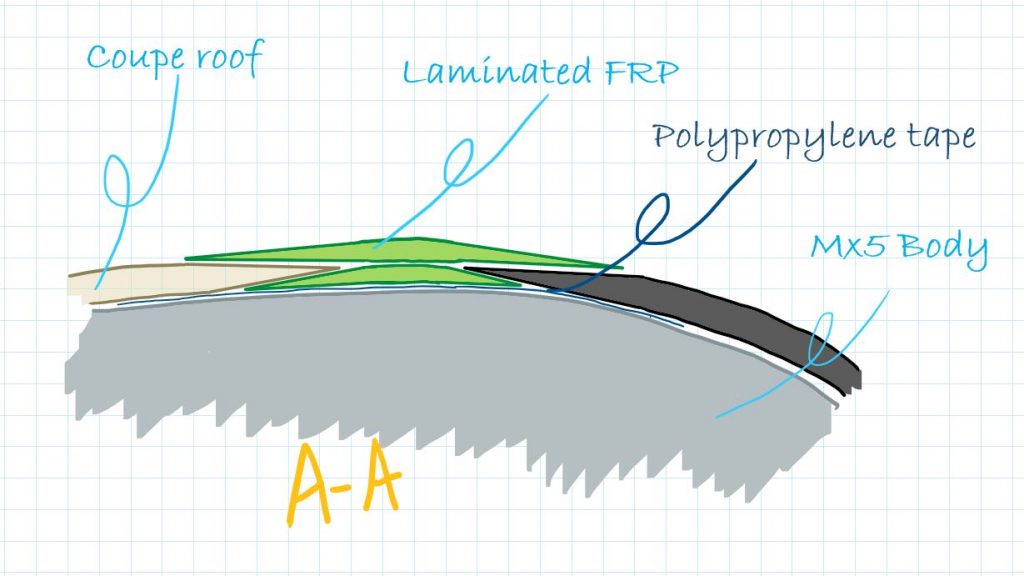
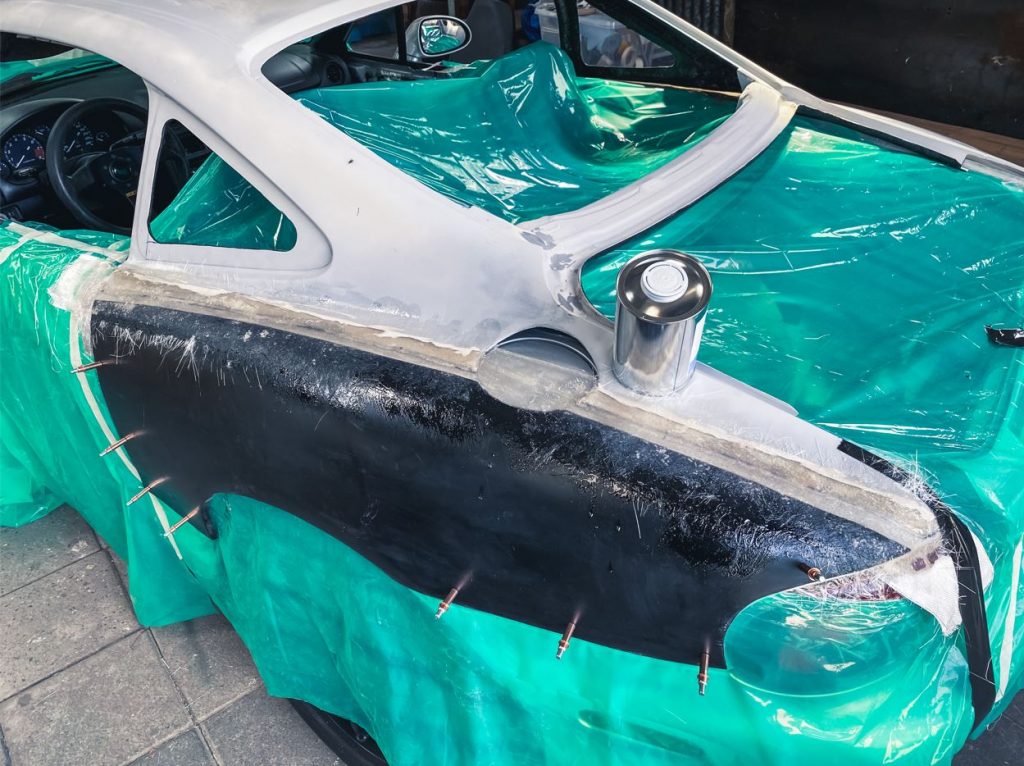
The idea is illustrated in the sketch below. I made the overfenders fit the car and left a gap between the coupe roof and the overfender. Both edges were knife edged, this way I could ensure the polyester will be bonded to both sides. This also gave a mechanical connection between the 2 fiberglass pieces. The body will be protected with polypropylene tape, as polyester will not bond to the tape. First we will put a layer of fiberglass down on the body that will fit the gap undernead the overfender and roof. The fender and roof will be fitted on the body and pressed in the fresh layers of fiberglass. Afterwards the gap will be filled from the top with a fresh layer over fiberglass. This will give a strong connection between both parts.
Let’s start fitting the overfenders
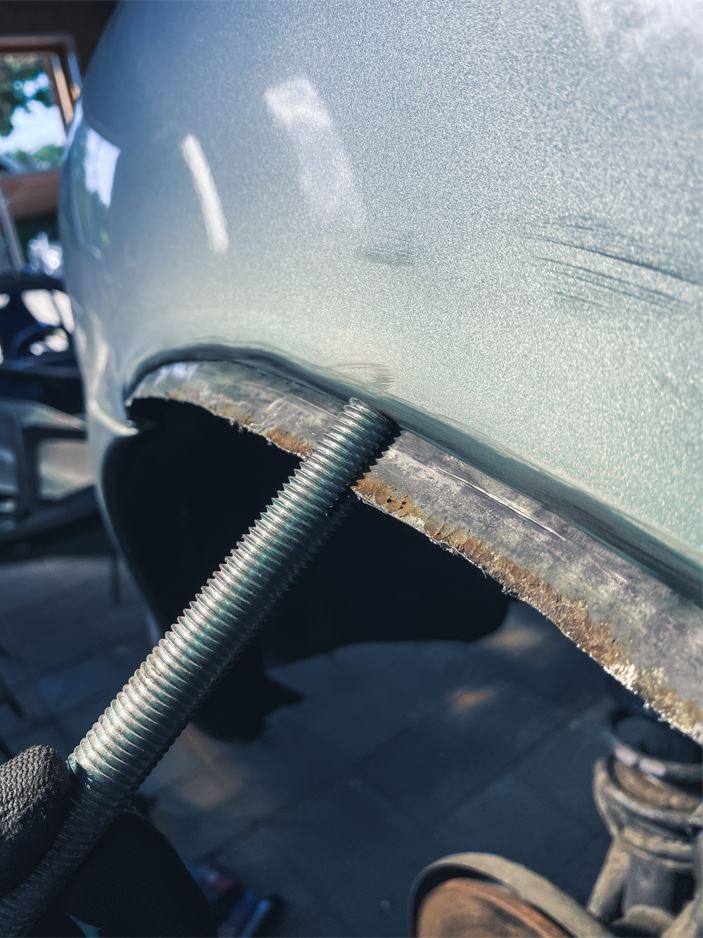
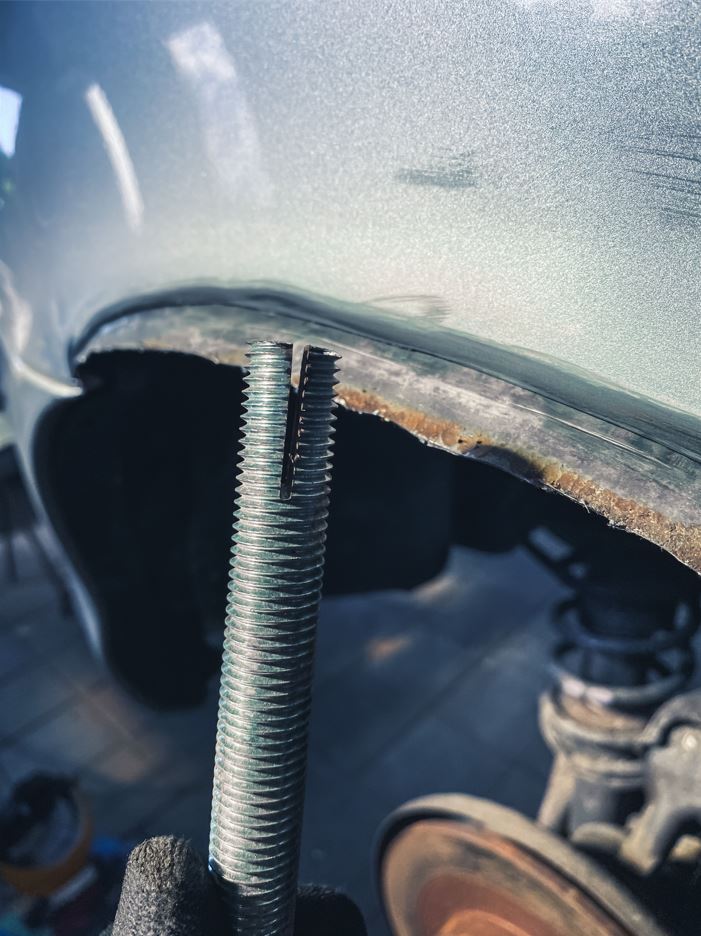
Well, some good news: after I cut the fenders they fit surprisingly well. My rust problem also was immediatly solved. With the help of leftover thread rod I had a nice tool to slowly bend the inner fender towards the outer fender. After that I welded both the inner and outer fender together and sprayed a layer of primer over the welded seam. This will be finished off in a later stage.
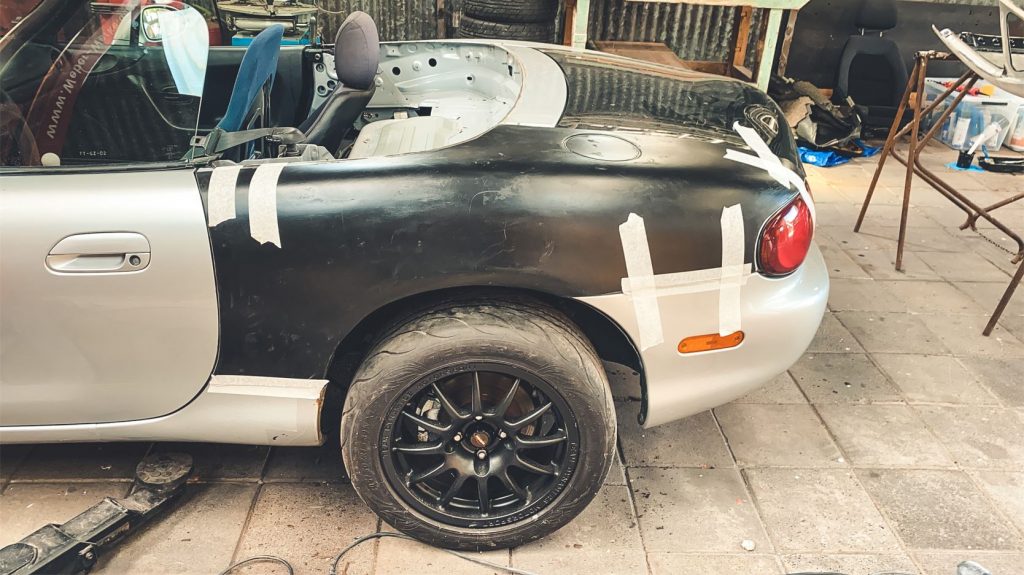
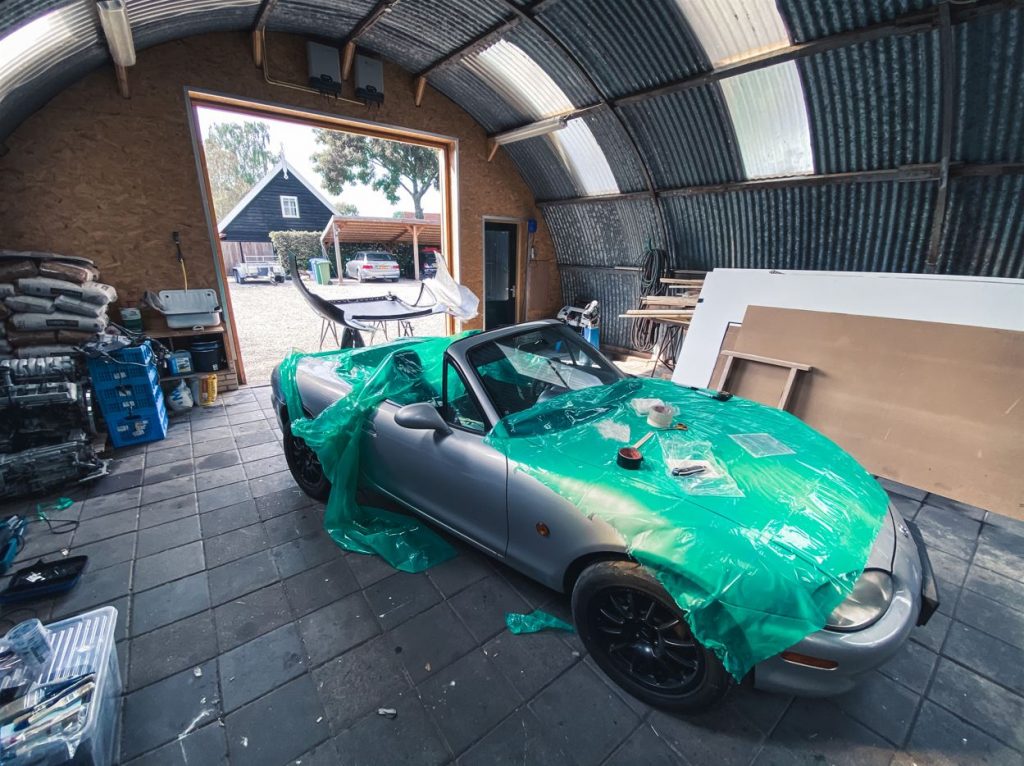
With the help of some cleco’s (what an amazing tool to have), the overfenders are attached to the body. So now it was time to prepare for the messy stuff. I made sure the hole car was covered in plastic sheets or polypropylene tape. All the fiberglass was cut to the right size beforehand to make the laminating process go quicker, at the time is was around 35 degrees celcius, so we needed to work quickly.
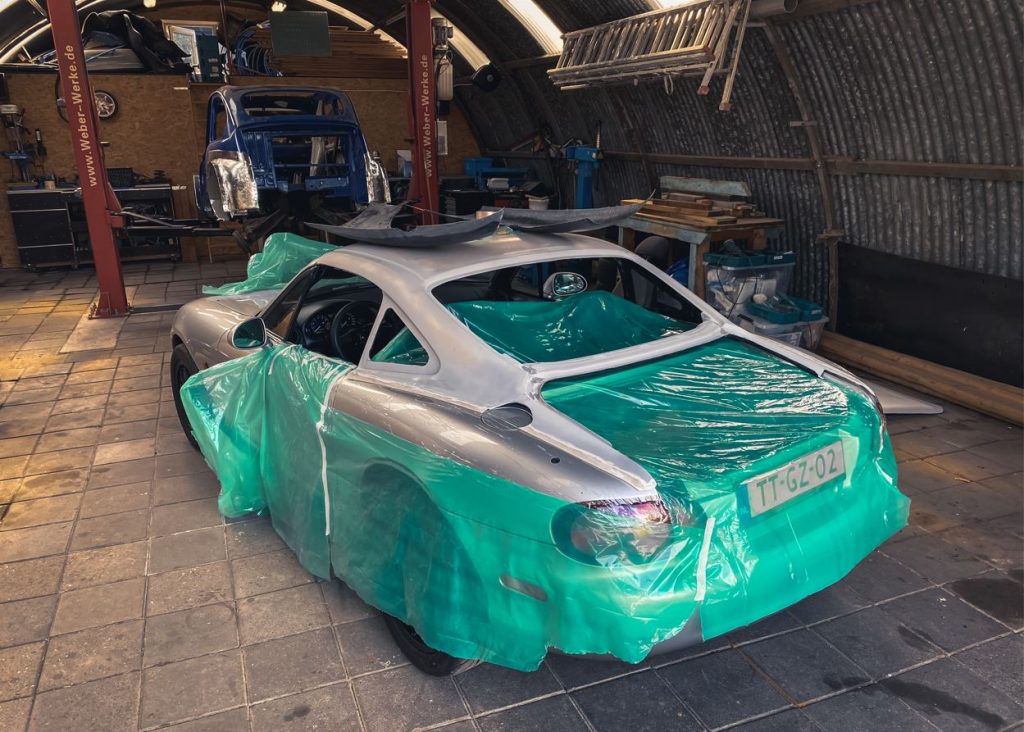
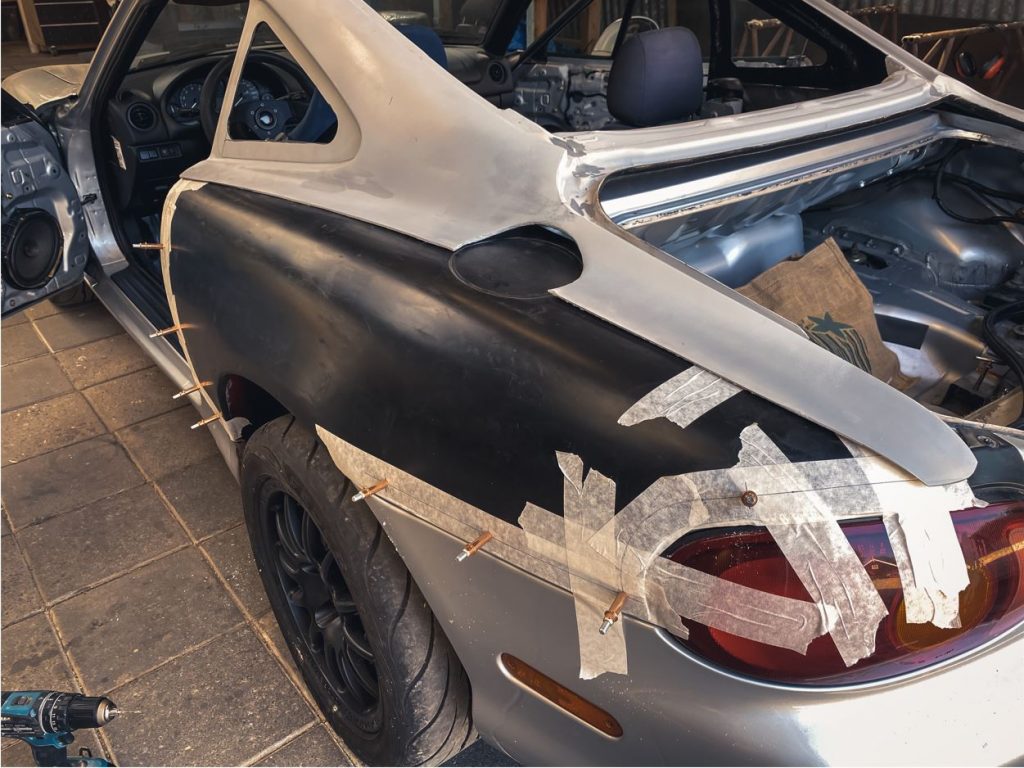
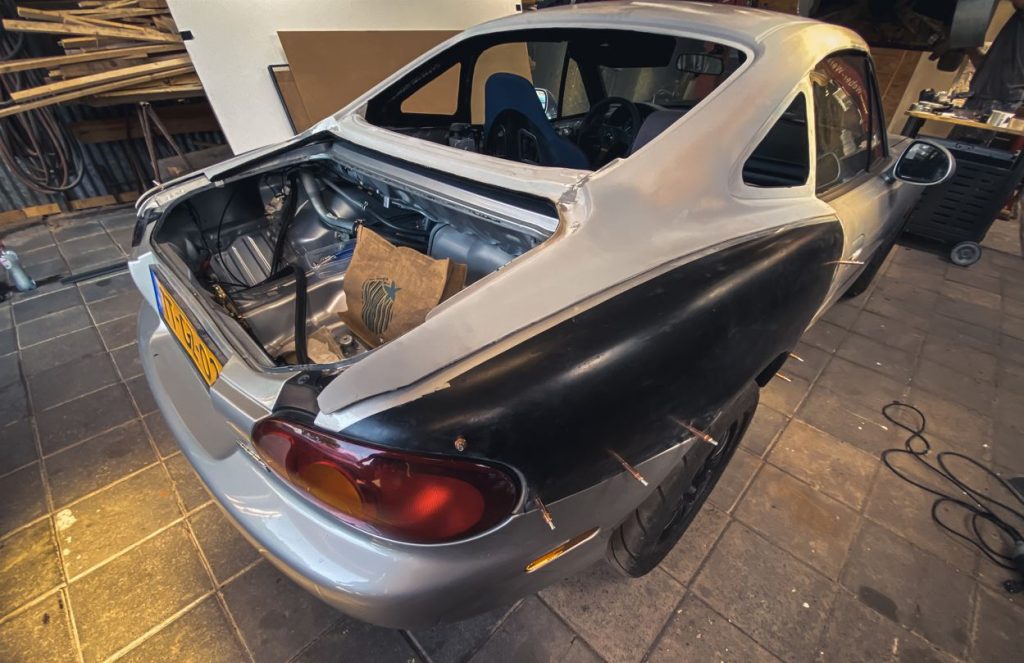
Now the messy part started. I like to work with fiberglass from time to time, it is messy but the result is always fun. Next to that it is really easy to work with, as mistakes kan be solved quickly. After the fiberglass hardened, the top got removed and trimmed and we cleaned the car from all the protective tape and plastic sheet to start the least fun job; a lot of sanding.
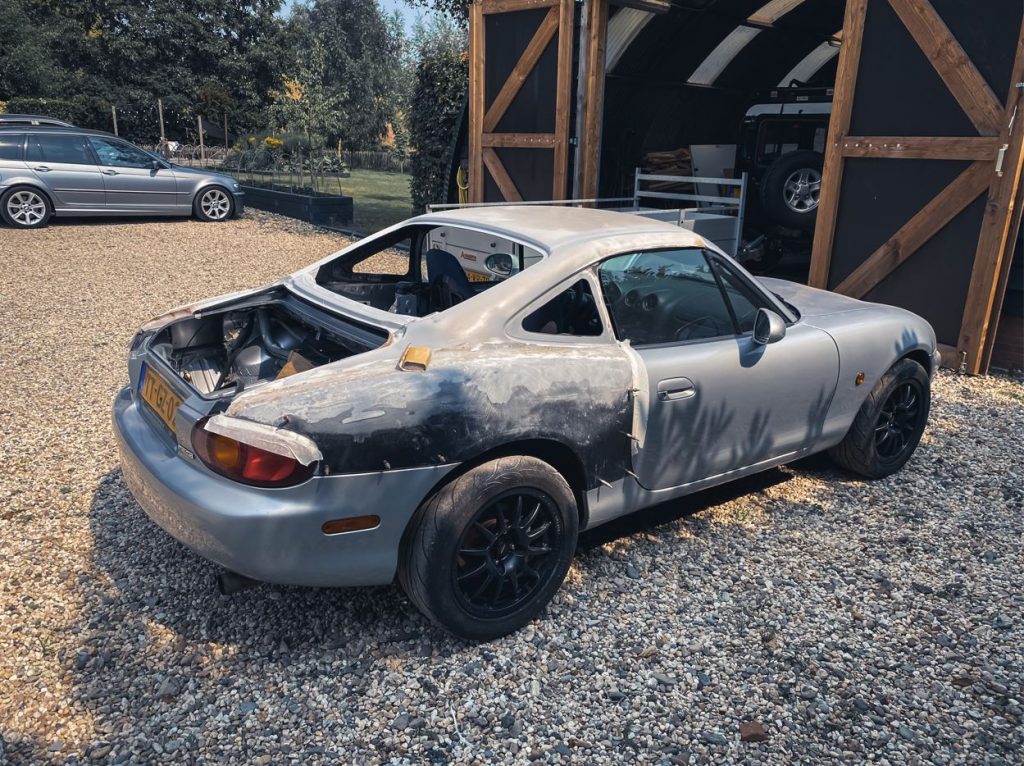
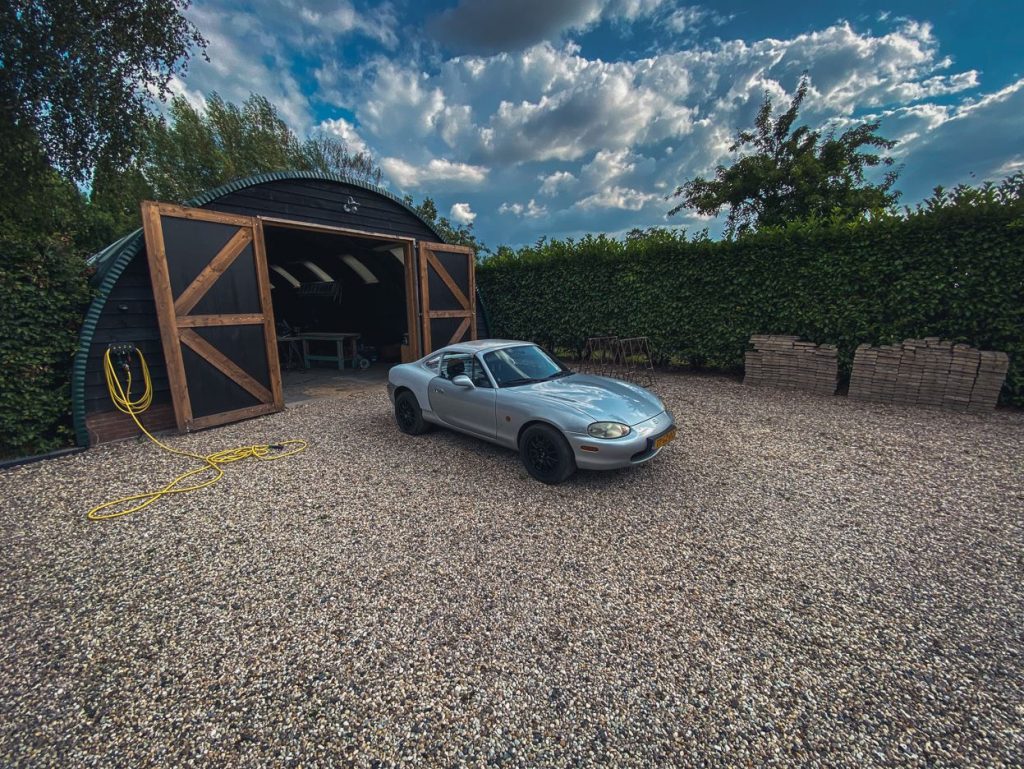
After a can of primer, the result was really cool. below you can see the picture I teased with a couple of months back. Hopefully we’ll meet soon for the next update!
Cheers,
Jules