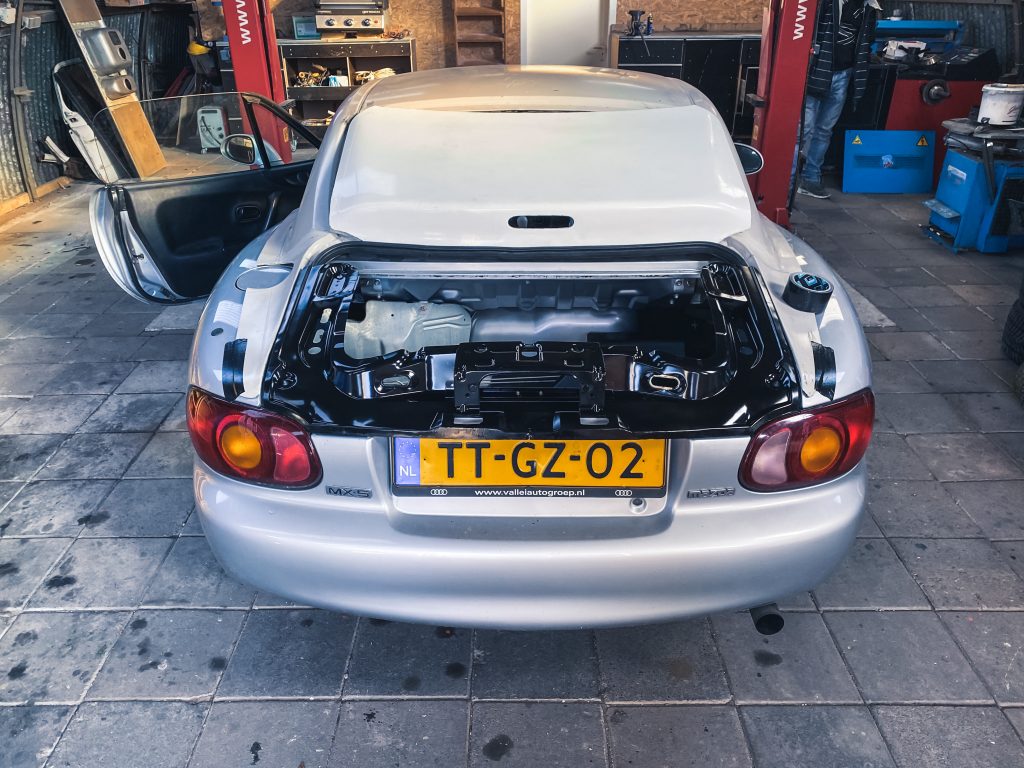
In my last post, I explained how I mounted a coupe top to my mx5 by re-using the steel structural beam of the softtop. Next step: the bootlid, which also was no more than just a shell. Would it be possible to re-use some parts of the original trunk?
First, let’s take a step back. Why would I want to re-use the original inner structure of the bootlid? Well, there’s one important reason: the original inner structure provides a mount for the license plate lights and third brake light. The second reason is the inner strucutre provides a perfect seal with the original rubber trim. This makes the boot lid more or less weatherproof. As I got insprired by the use of the front beam, re-using the original inner structure sound like the best option.
Let’s start hacking the original trunk
It didn’t take me long to separate the inner structure from the outer structure of the trunk.
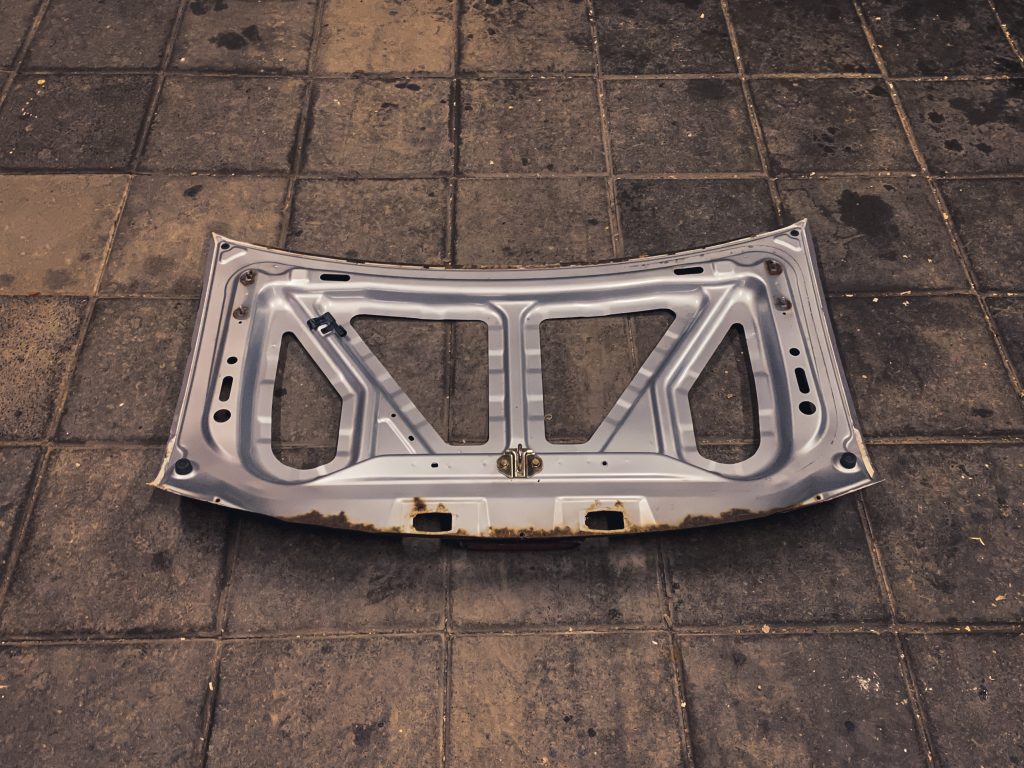
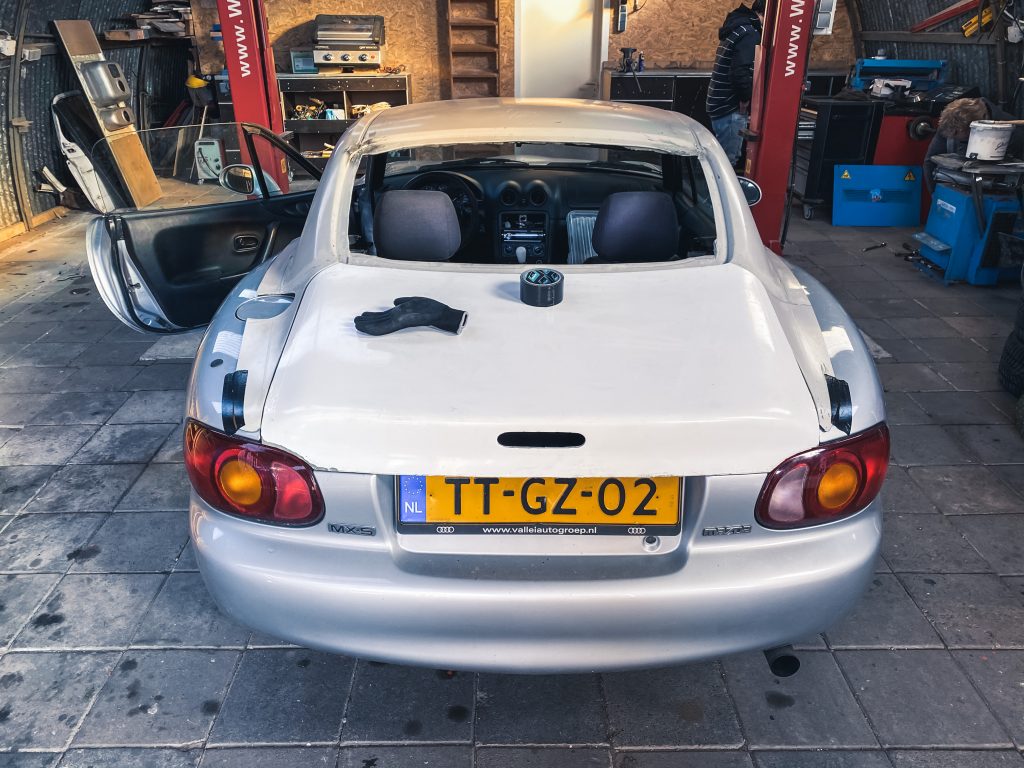
After some test fitting it started to fit. I cut out the middle section, so the inner structure more or less showed a U-shape. This made it possible for me to bend the two legs upwards. As the coupe trunk shape is a bit higher, I needed to bend these legs upwards to support the trunk.
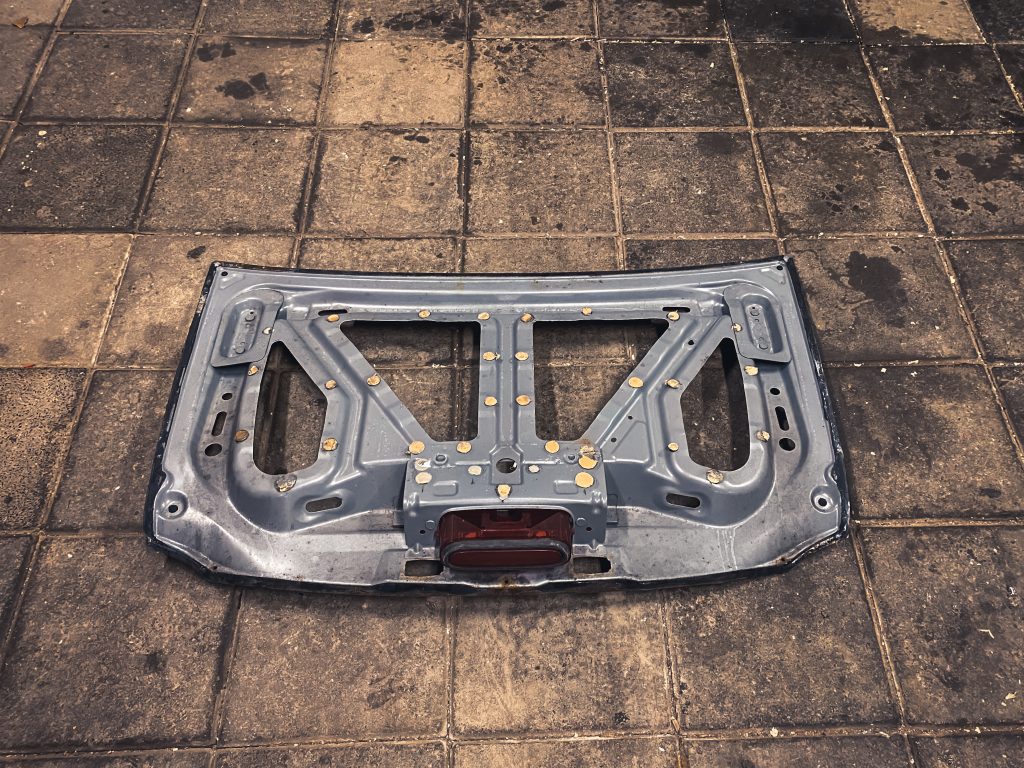
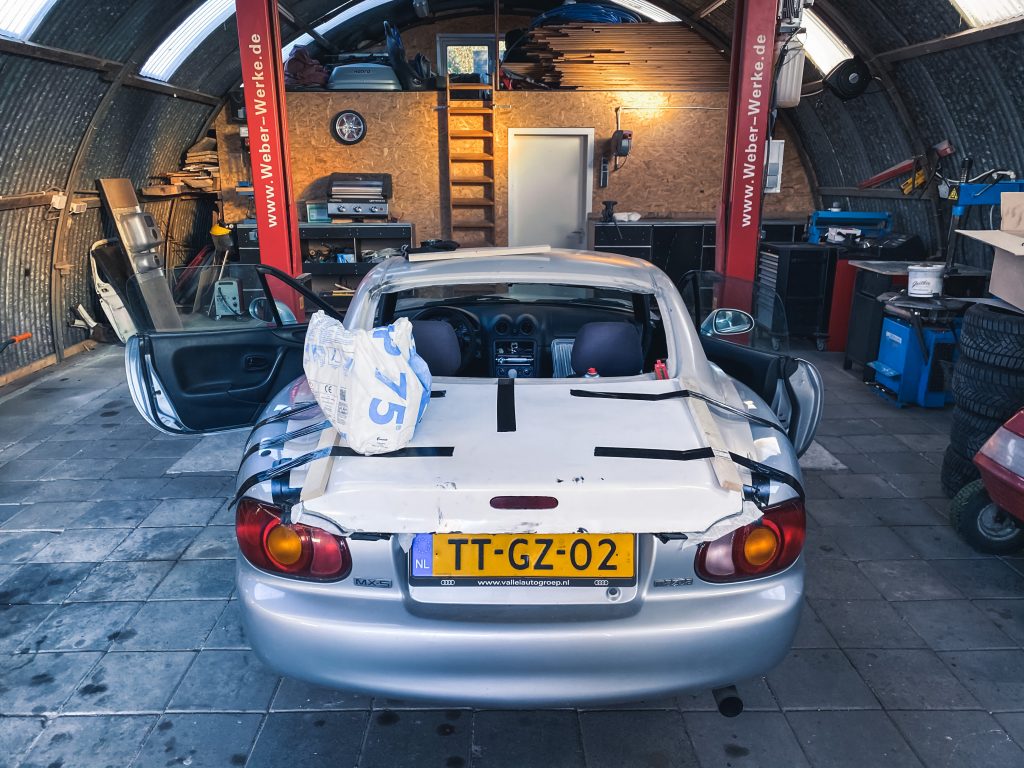
The inner structure got the same treatment. I first removed the rust, cleaned it all up. Then I removed all the old sealer. I also took some moments in between to realize that sometimes, it’s just amazing how Mazda got the sealant between all those edges… and still everything rusts.
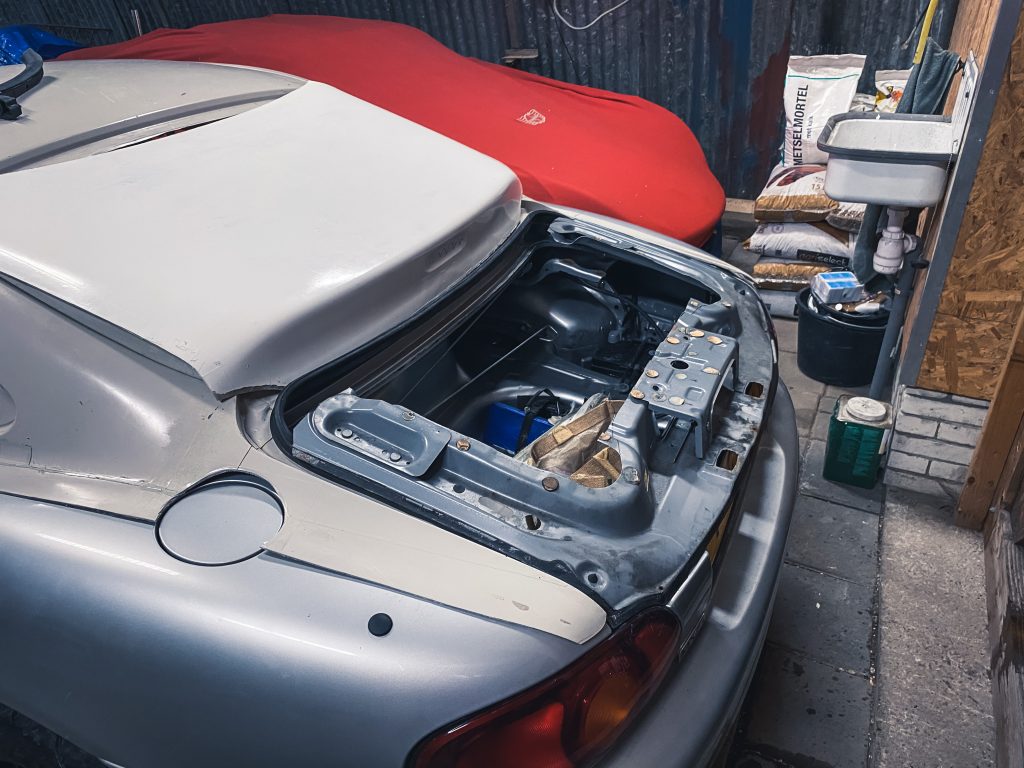
After this realization, the inner structure got a freshly layer of black paint. I aligned everything again and glued the fiberglass panel to the steel structure with the same glue as discussed in the previous post. Before glueing, I measured the gaps, and put on the original rubber trim. With the help of tape and a heavy bag of sand, I pushed the trunk in its position.
Covid-19: We need to take a break
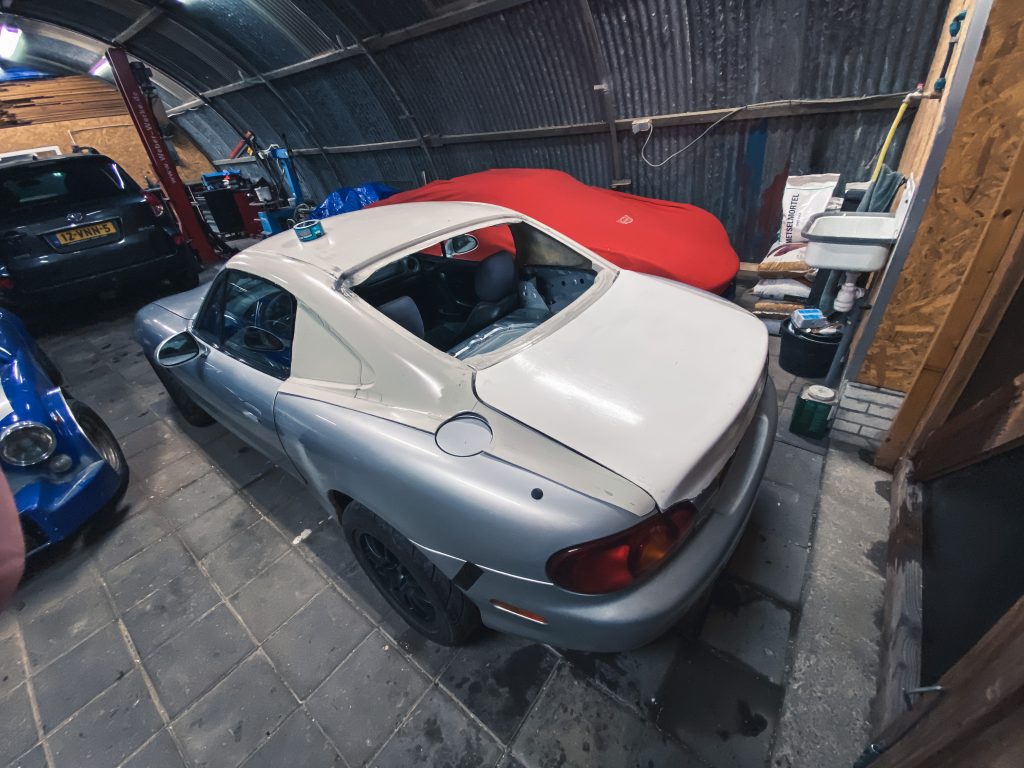
After my previous work, Covid-19 happened. Something everybody can relate to. Because I’m using the shed of a friend of mine – who lives a 45 minute drive away -, sometimes, it was difficult to work on my car. At this point, I transferred the mx5 roof to my basement. After all, it was a perfect moment to work on all the imperfections on the mx5 roof. My basement finally had the look of a Dexter kill room. Just good intentions, however, as I did it to keep all the dust out of my living room. It turned out great.
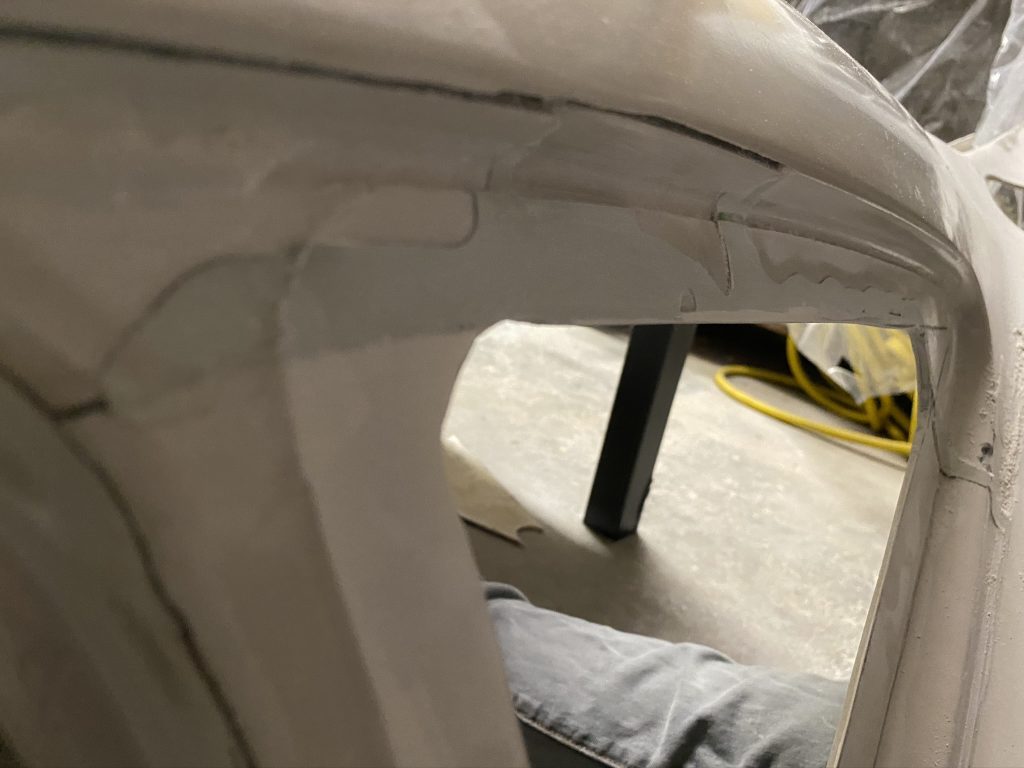
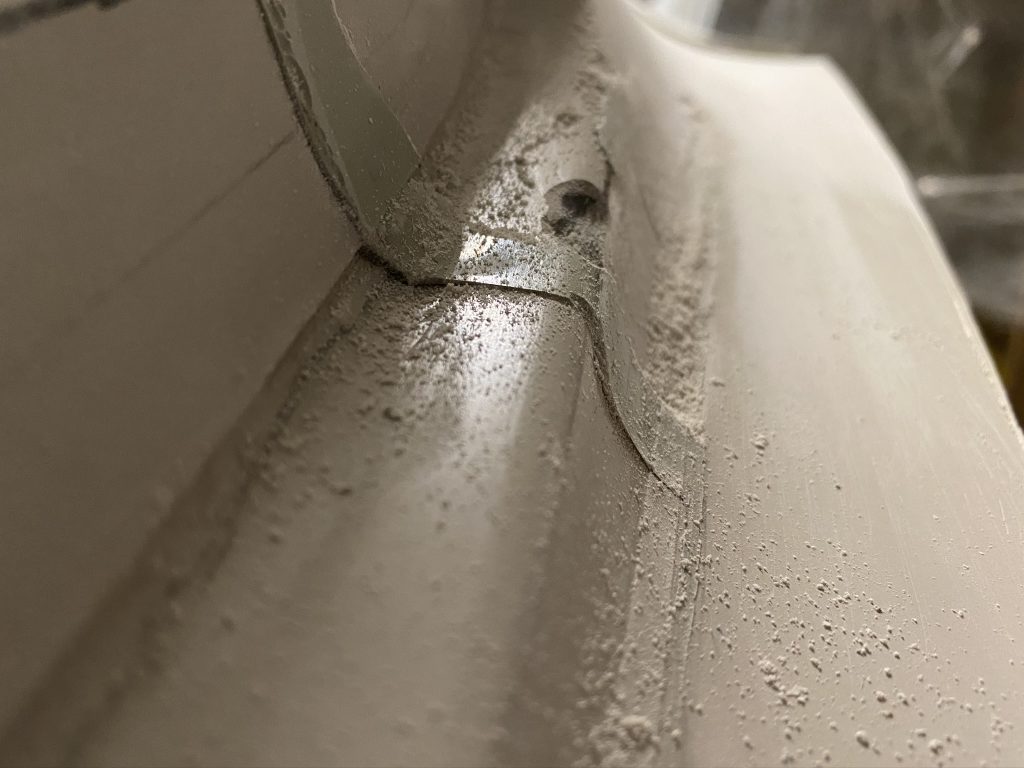
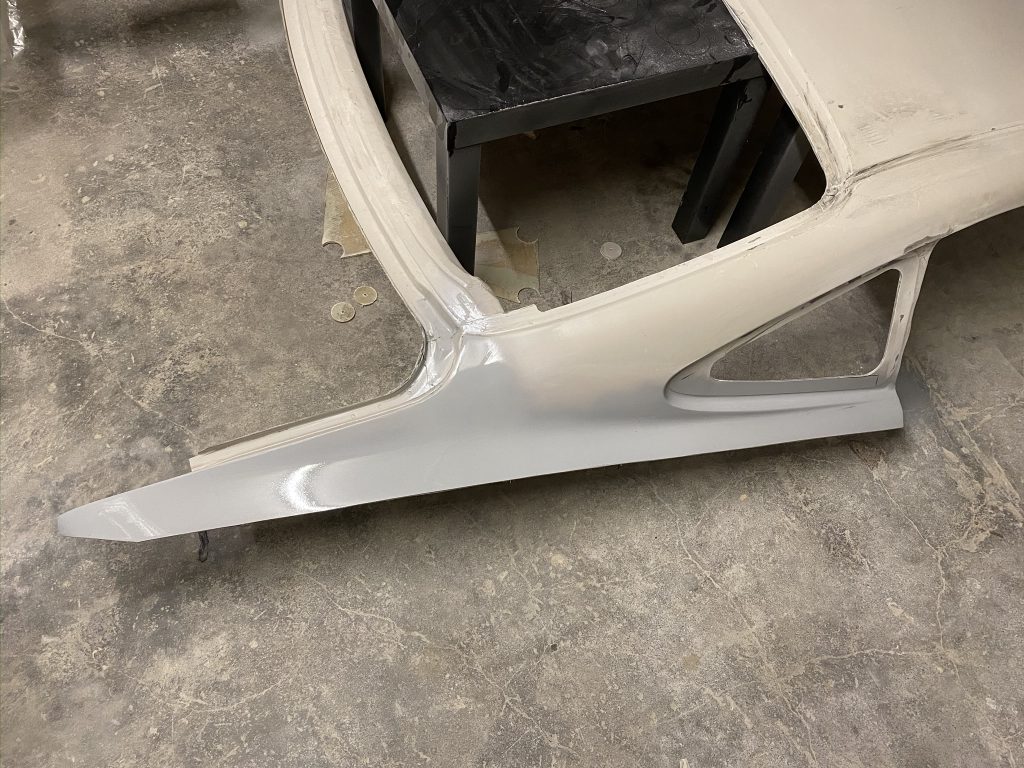
I did a lot of fiddling, sanding, filling, cutting and more sanding. Which isn’t the nicest work but needs to be done. Below, you can see some pictures of the status of the roof. The first three pictures show the state of the roof how I bought it. The last picture show the result after a lot sanding and filling.

How to attach the roof to the car?
While working in the basement, I was looking into the best solution of mounting the roof to the car. I’m not a big fan of glueing and blending it in nicely with body filler. It’s just a matter of time before the paint starts cracking. While polyester is an amazing and easy material, it will never fully cure. Added to that, there also is a different thermal expansion between polyester fillers and steel quarter panels.
I needed to remind myself that my mx5 will finally become a trackday car. Therefore, bolting the roof on and off can actually have some benefits with regards to repairing damage/recurring rust. Looking at original coupe’s in Japan, I really like the shape of the roof blending in the quarter panel. So I needed to come up with a solution, which I will discuss in the following blog post.
Curious? Follow me on Instagram.
Cheers,
Jules