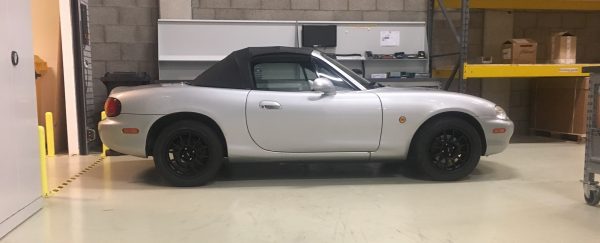
As my previous post shows, I’m making a trackday car of my mx5. As the main goal is to build a cheap trackday car, I told myself: looks are not important. I soon found out, however, that this wasn’t true. As much as I love driving a car, I also love to do things differently. That is: building a unique car. So every time I come across something special, I just jump on it. This time, it was a Japanese roadster coupe.
So, I came accross some pictures of the Japanese roadster coupe. I just wanted one, or at least one that looks like the japanese version of the coupe.
Here’s some background information regarding the coupe by Mazda:
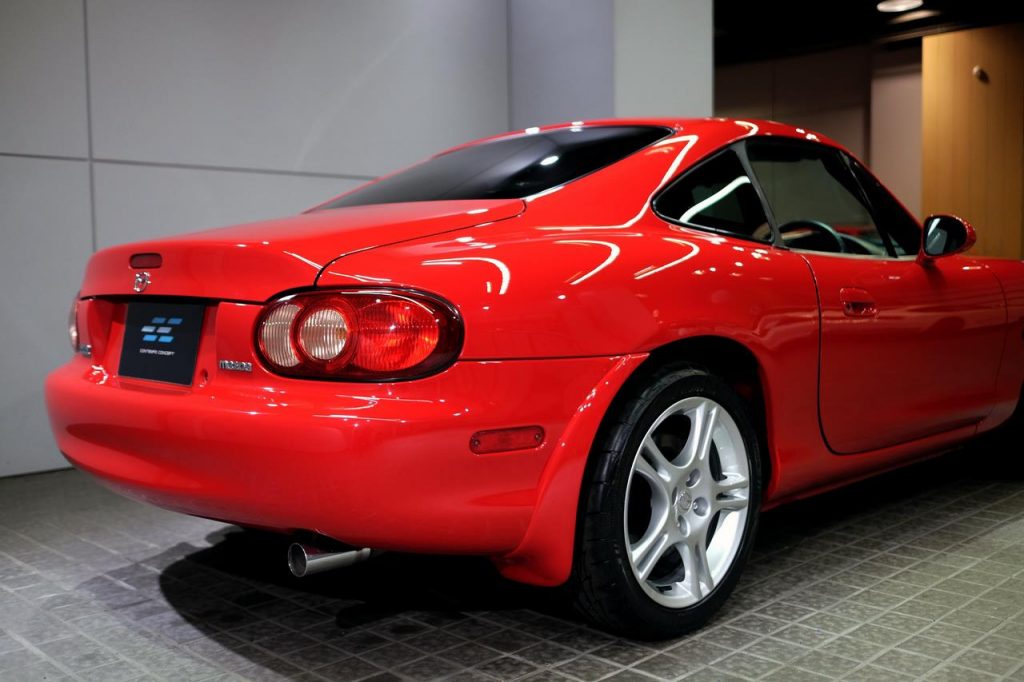
Mazda did offer a coupe Mazda Roadster before. This contained a very limited number of coupes and was only available for the Japanese market. The models could be ordered by Mazda and Mazda Anfini dealerships all over Japan. The production was handled by Mazda Engineering & Technology, a subsidiary of Mazda that specialized in limited production models. The Roadster Coupe was a two-seat sports coupe based on the 2nd generation NB platform of Mazda’s popular Roadster.
What about the roof name: Roadster?
The name “Roadster” wasn’t a real roadster. The shells started as roadster, which were then modified into a coupe (before assembly). This means it’s not an entirely new shell, but not a retrofit either. Adding the fixed roof actually increased the car’s total weight by about 10kg. This made the car a little slower in a straight line, though the presence of a roof did increase rigidity, which improved the car’s handling.
Having a roof also created a storage space behind the seats. These RHD-only cars were available with the base 1.6L engine (125hp, 5-speed), as well as with the 1.8L engine (158hp, 6-speed manual or 4-speed auto). The actual production numbers were said to be 179 units in total.
Next steps: buy a coupe? Transform it into a trackday car?
It was almost impossible to buy a coupe and it also wouldn’t make sense to transform it into a trackday car. However, there are some alternatives. A couple of people around the world have started to make their own ‘fastback’ hardtop. It’s more or less a hardtop inspired by the coupe, but the designs show some differences compared to the original ones and are not quit to my liking.
I looked into different options, such as buying a miniature model car of the roadster coupe, making a 3D scan, and making a replica. However, this idea stopped really quickly, because I couldn’t find any miniature model.
Another option was to make my own coupe. This was feasible but would take a lot of time. So, over time, I also gave up on this idea. I bought an original hardtop and removed as much weight as possible. It was just ready to paint, when an amazing opportunity came across.
Dutch mx5 specialist with an mx5 coupe from Japan…
In The Netherlands, there is an mx5 specialist who imported an mx5 coupe out of Japan. He made a mould of it and then made a couple of fiberglass replica’s. We got in touch and he explained he’d one roof laying around in his garage. I jumped in my car to have look. In the picture below, you’ll see what I found. As you can read, things escalated quite quickly from here. Goodbye cheap and simple trackday car…
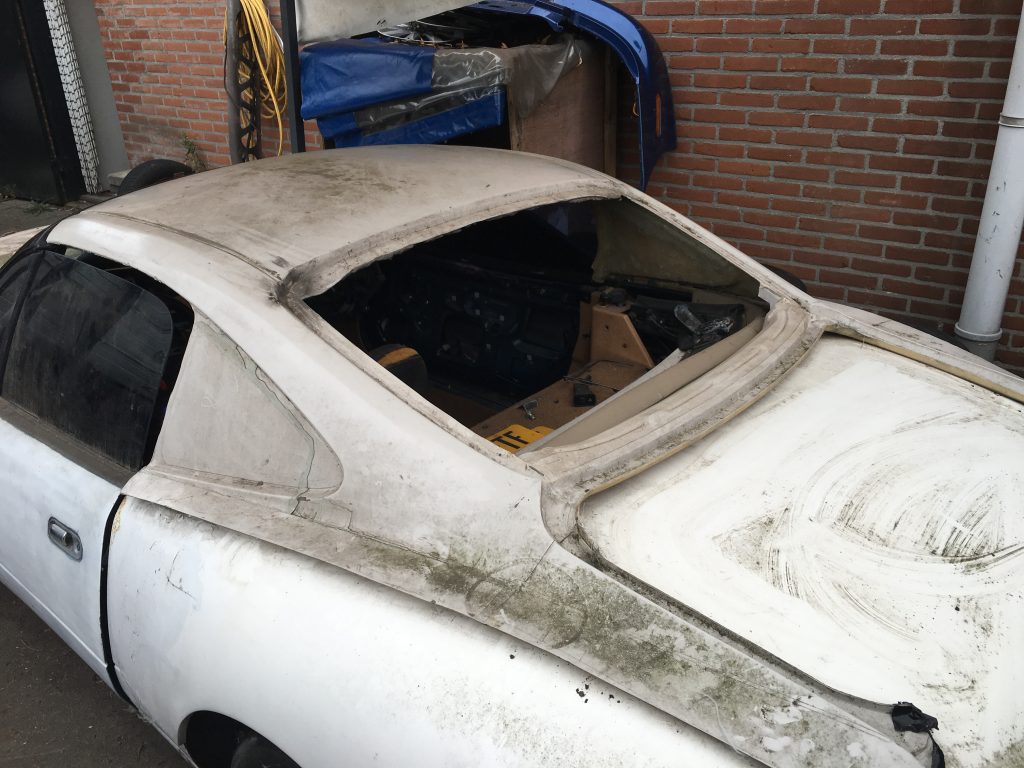
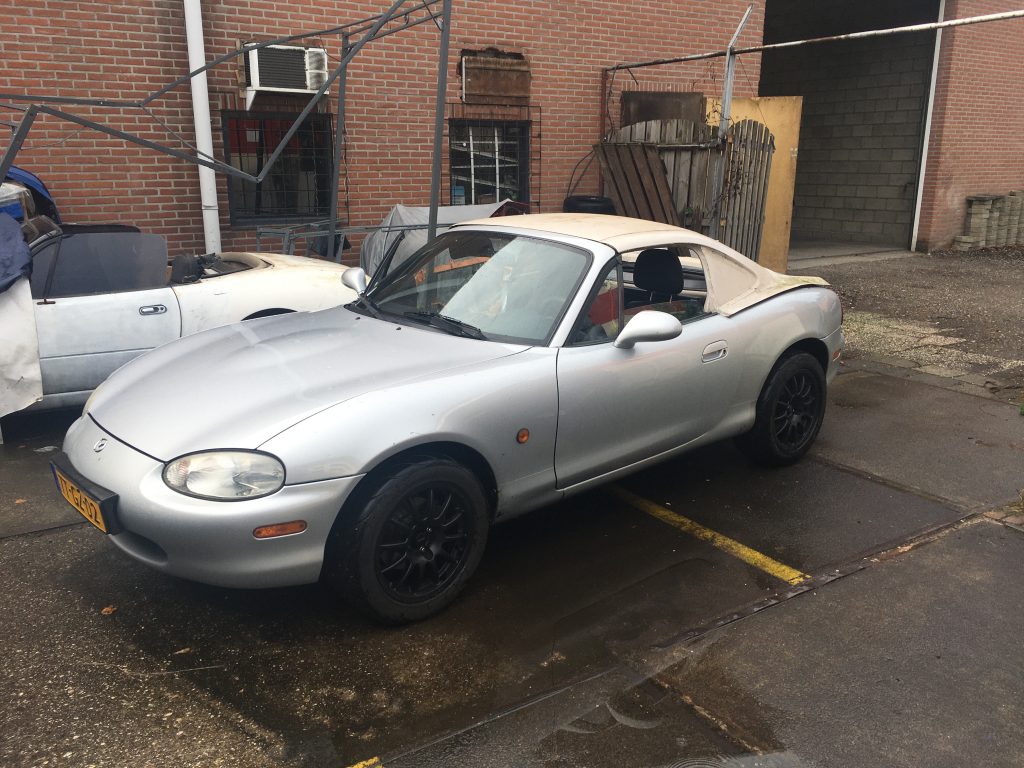
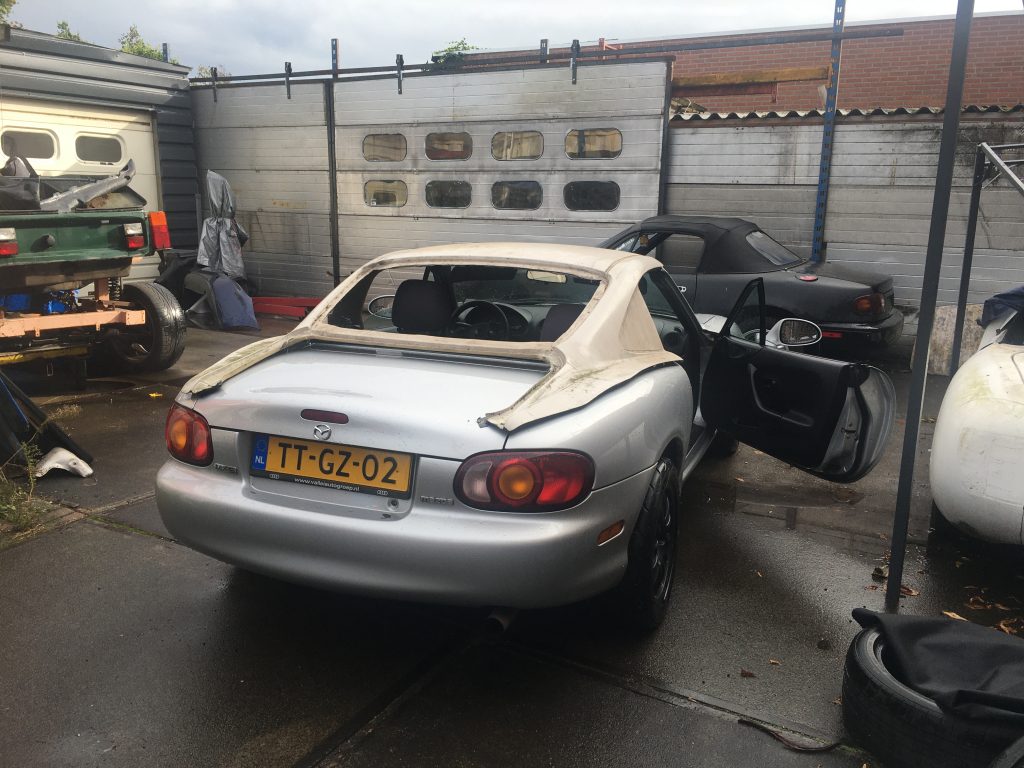
As the pictures show, there was some work involved to make it fit. But I was in love with the look. We agreed on the price and I took the replica coupe roof to a friends shed. After a thorough cleanup, we started test-fitting the roof. The roof looked like a unique and nice base to start with.
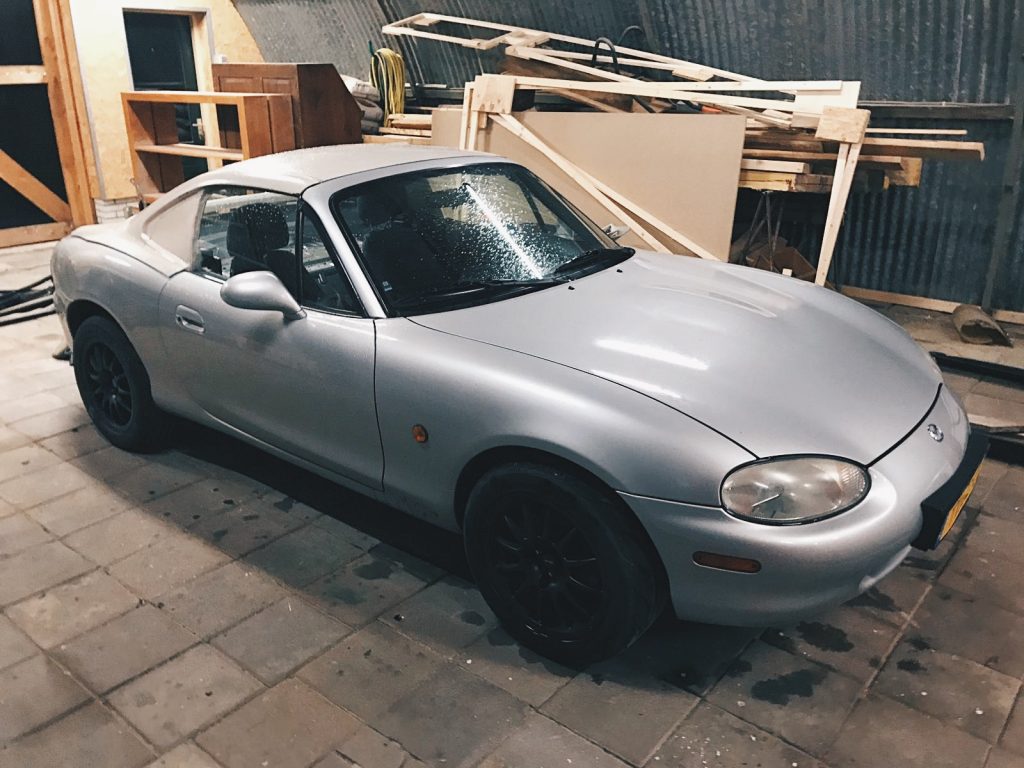

After some fidling and trimming, the roof started to fit to the car. It had completely changed the look of the car, even though the fiberglass replica was just a shell.
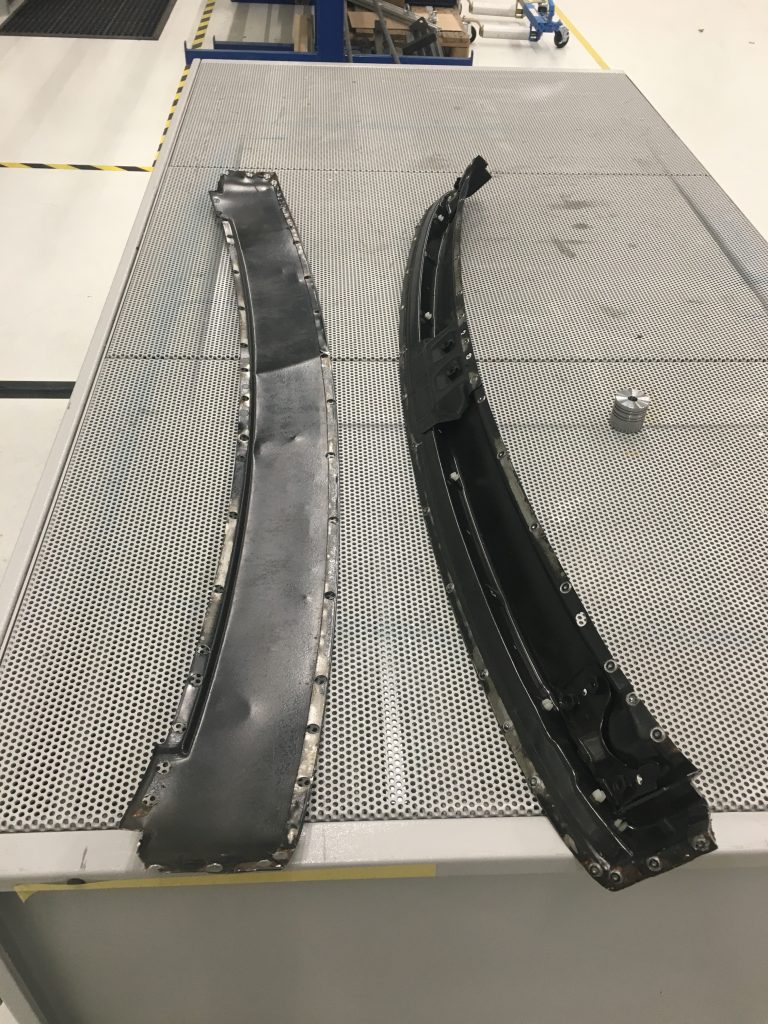
Because it was a bare fiberglass shell, the first step was to make the front mount. This way, I could always align the roof in the same position, and continue working from there. I took out the original soft-top and noticed the front part was made of steal. If I could re-use this part, I could also re-use the original clamps, which would make it easy to pull the roof on and off.
So, I start hacking the original soft-top and was left with a welded two piece steel connection part. I separated the two pieces by drilling all the spot welds. I only needed the lower part, which is used to screw the original clamps to. Also, it would help to get rid of some unnecessary weight.
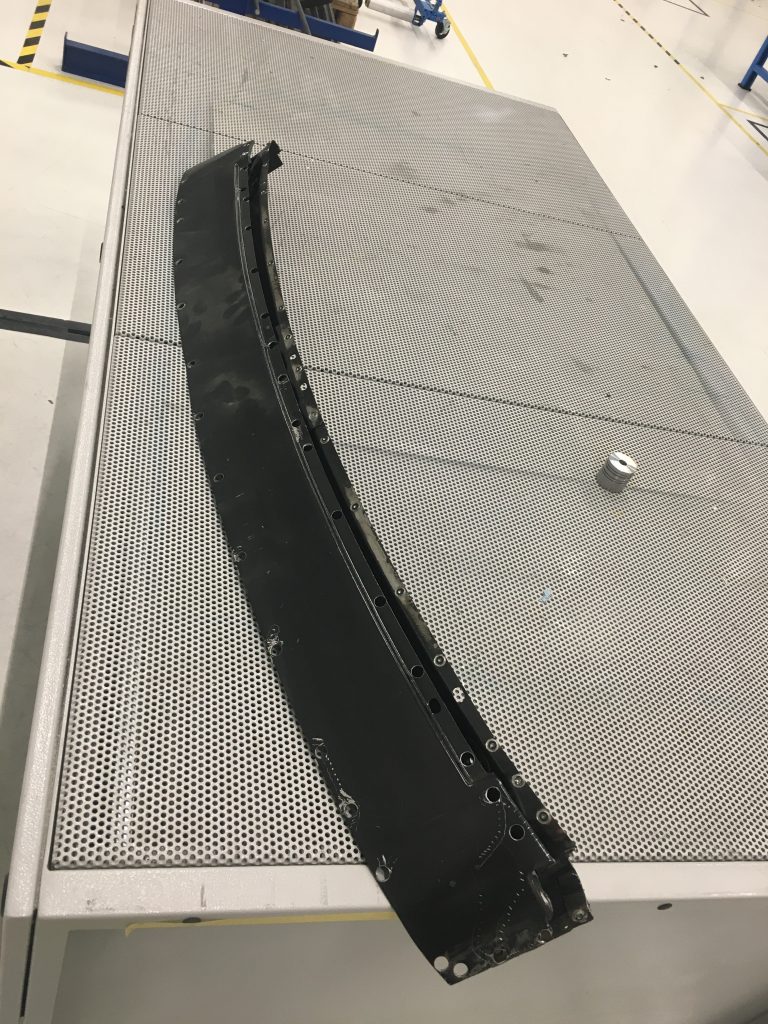
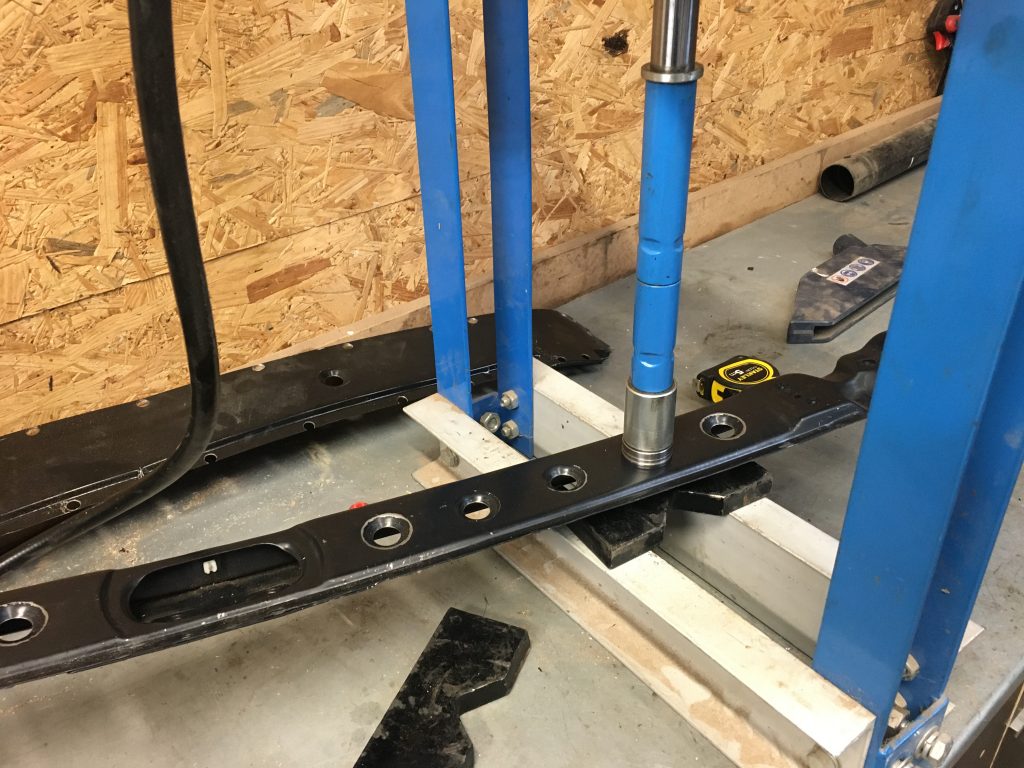
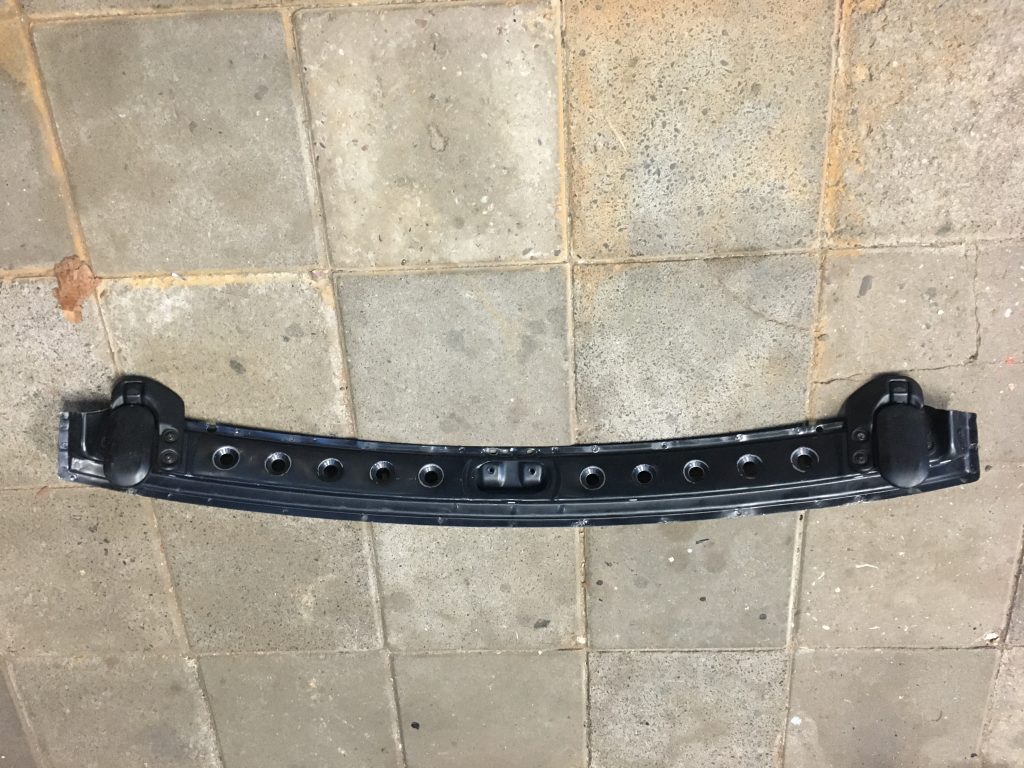
After this, I pressed some ‘speedholes’ in the connection bar. The main reasons were: removing extra weight, getting some structural integrity back after splitting the two halves and finally, of course, because it looks cool. The next step was to start painting. I painted it black and glued the connection bar to the right postion in the fiberglass shell. I used some polyurethane glue, to compensate for the differences in thermal expansion. Another reasons was to keep the connection more or less flexible, because there always will be some movement in the roof.
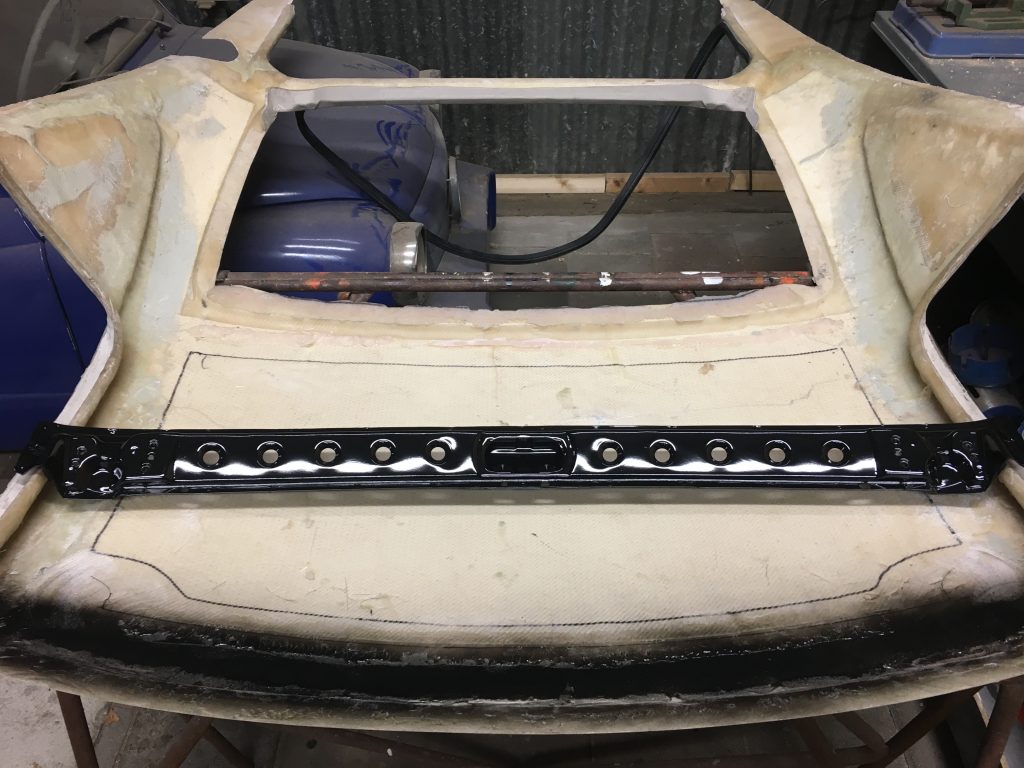

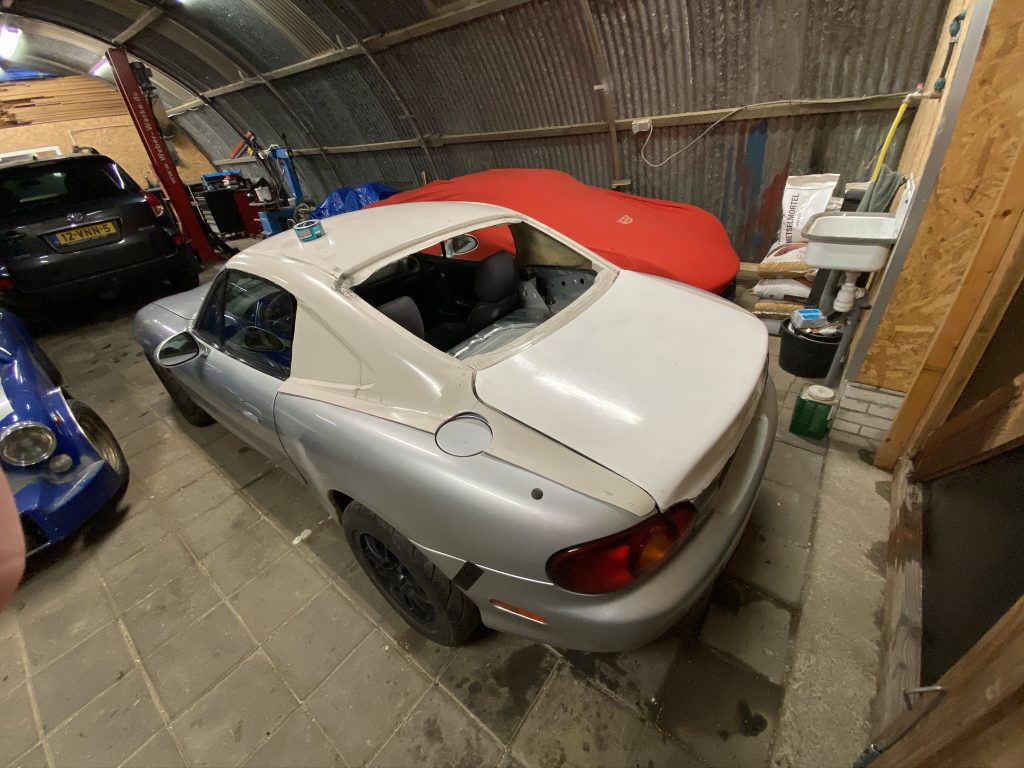
As you can see on the pictures above, the fiberglass roof isn’t perfect yet. It’s quit rough and needs a lot of work. Nevertheless, I’m really happy with the current look and feel that, in the end, it will be quite unique. The rest of the build will follow in the next blog posts.
What you think? Let me know in the comments!
Cheers,
Jules